Affiliate Disclaimer:
This site contains affiliate links. If you make a purchase through these links, we may earn a commission at no additional cost to you. This helps support our site and allows us to continue providing valuable content. Thank you for your support!
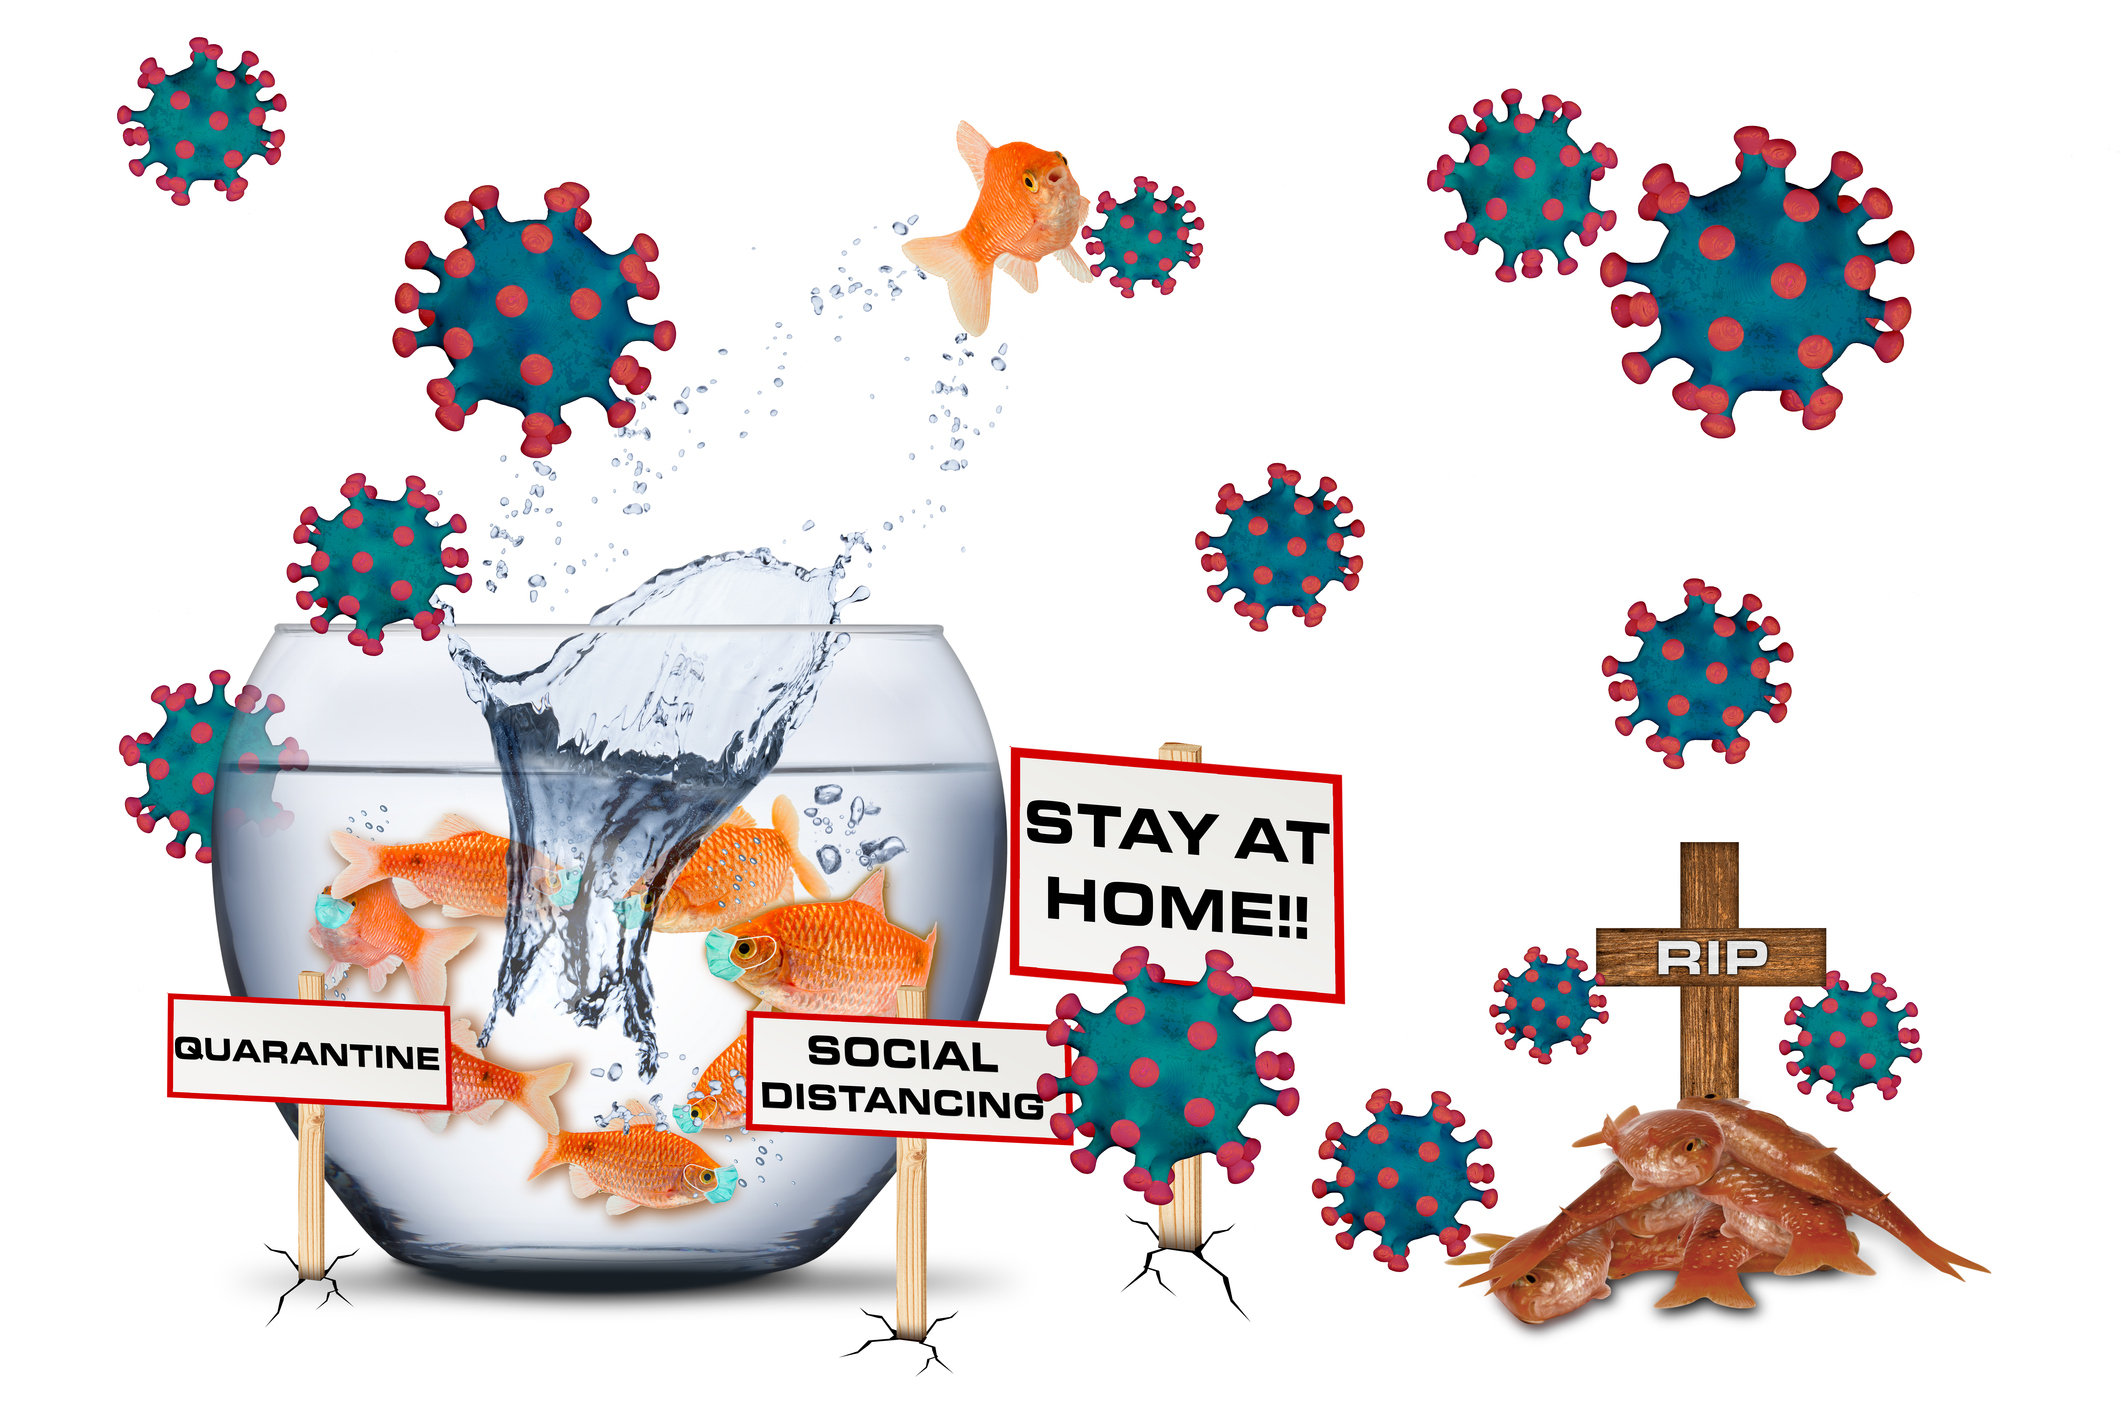
This beginner’s guide to freshwater aquariums is here to help you get started with the basics, giving you a clear, step-by-step introduction to the essentials of fishkeeping. Setting up your first fish tank can be both exciting and a bit intimidating.
I’ll walk you through everything you need to know, from choosing the right tank size and equipment to understanding water chemistry and aquarium maintenance.
Table of Contents
Step 1: Planning for Aquarium
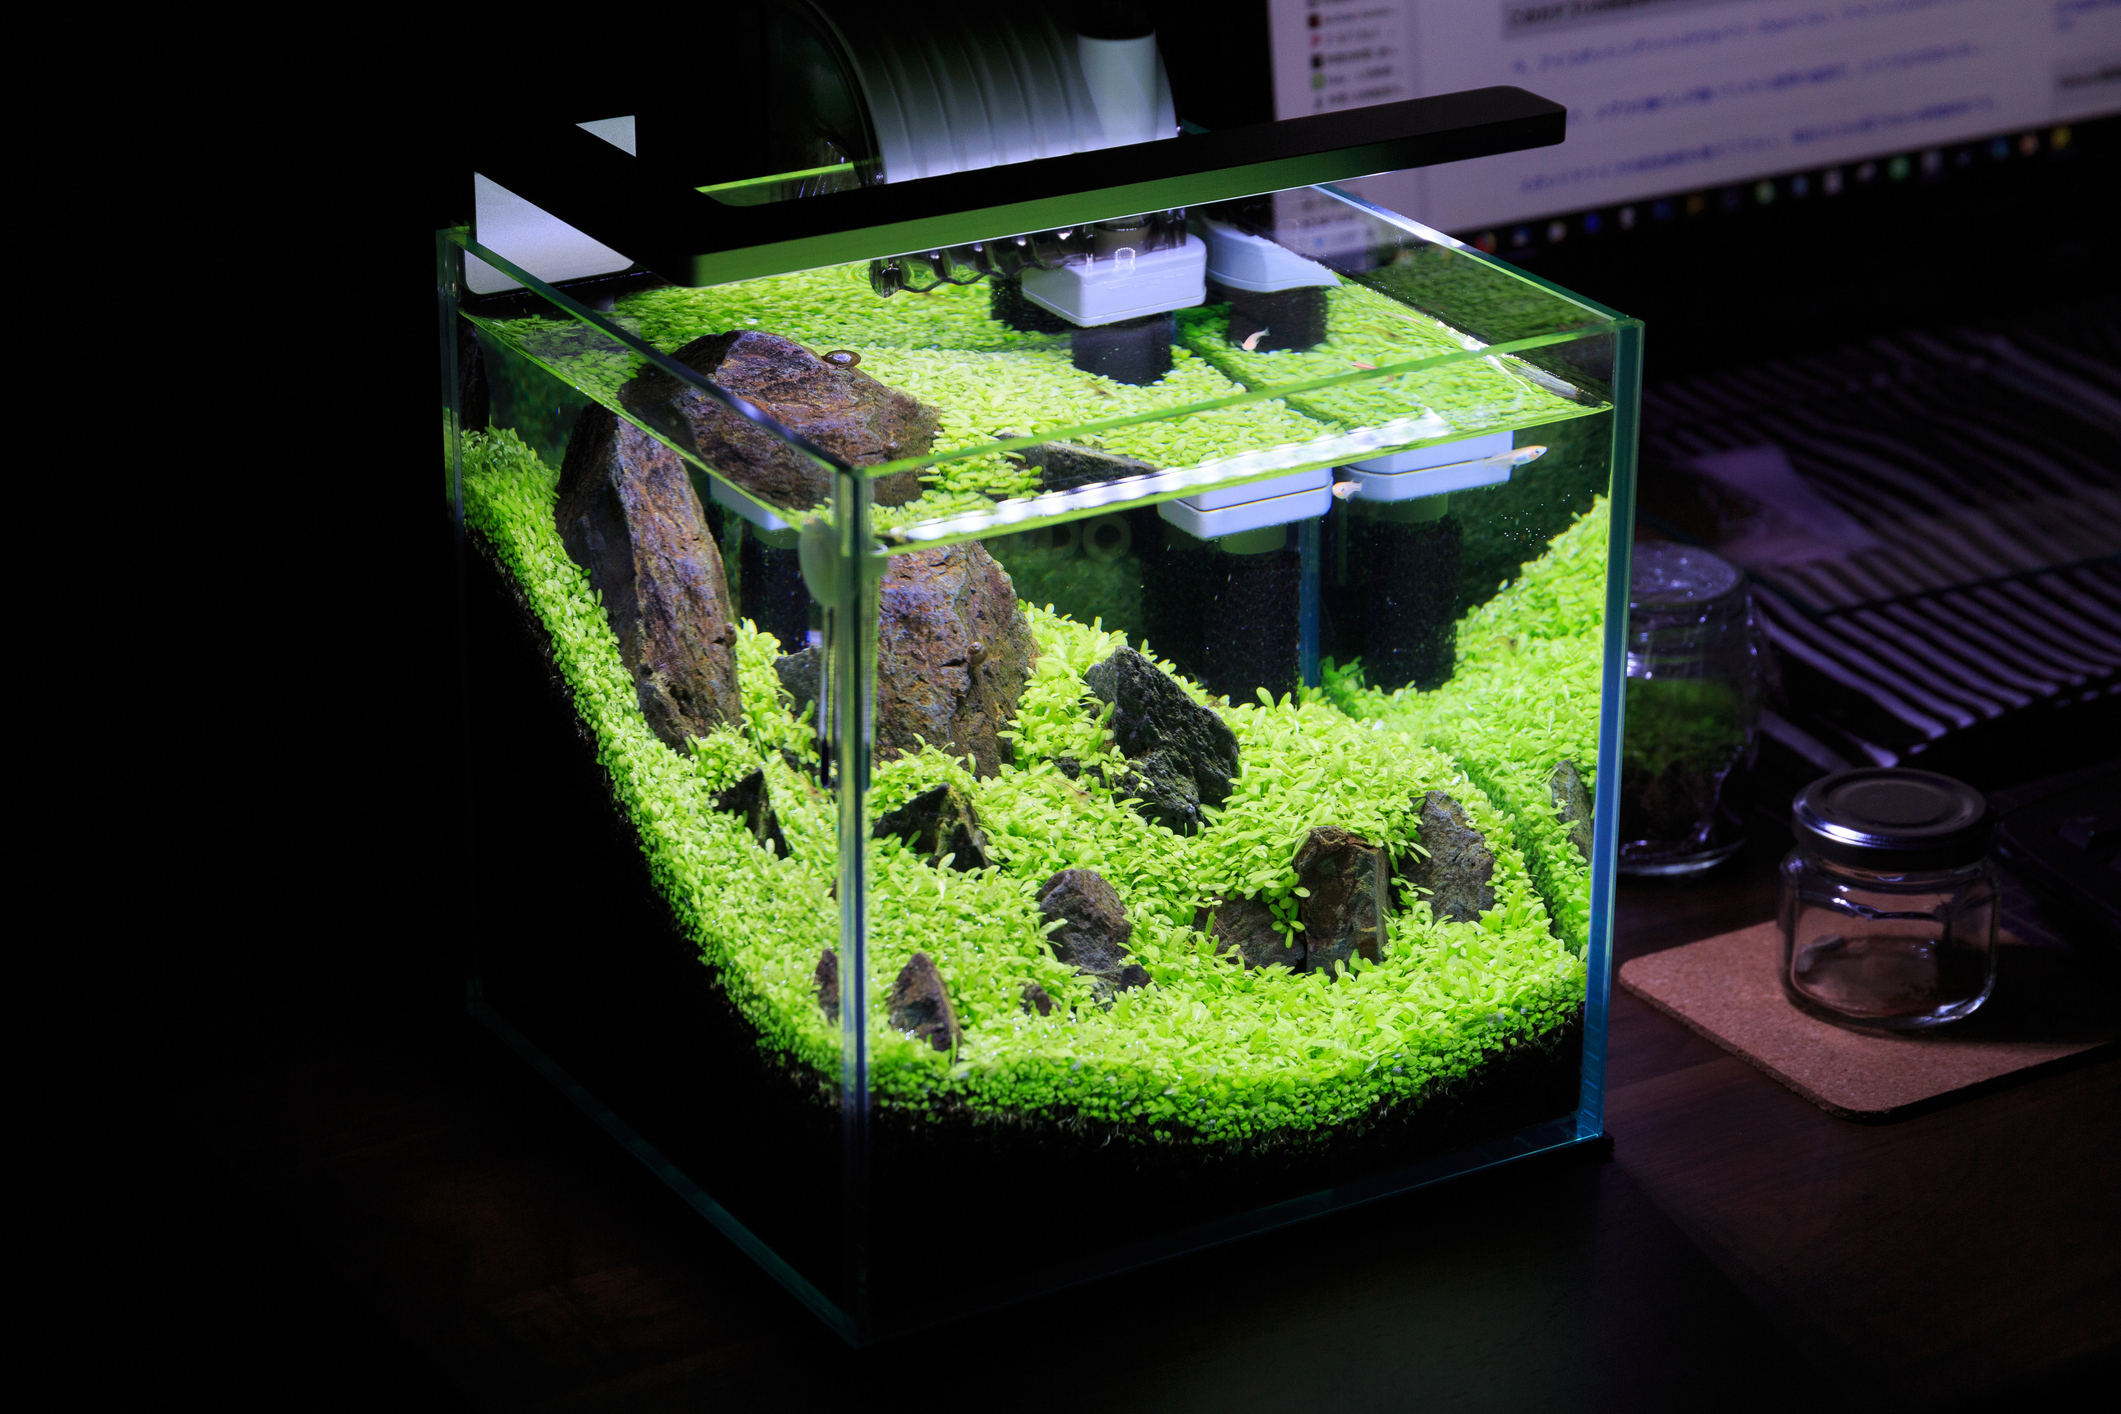
Choose the Right Size Aquarium
- Small Fish Tanks (5-10 gallons): Perfect for one or a few fish, like a betta or neon tetras.
- Medium Fish Tanks (20-40 gallons): More versatility for hosting various fish species.
- Large Fish Tanks (55 gallons and above): Ideal for sizable communities or larger fish varieties.
If you are thinking about a community fish tank or want something smaller here are a few links where I explain different combinations you can go for:

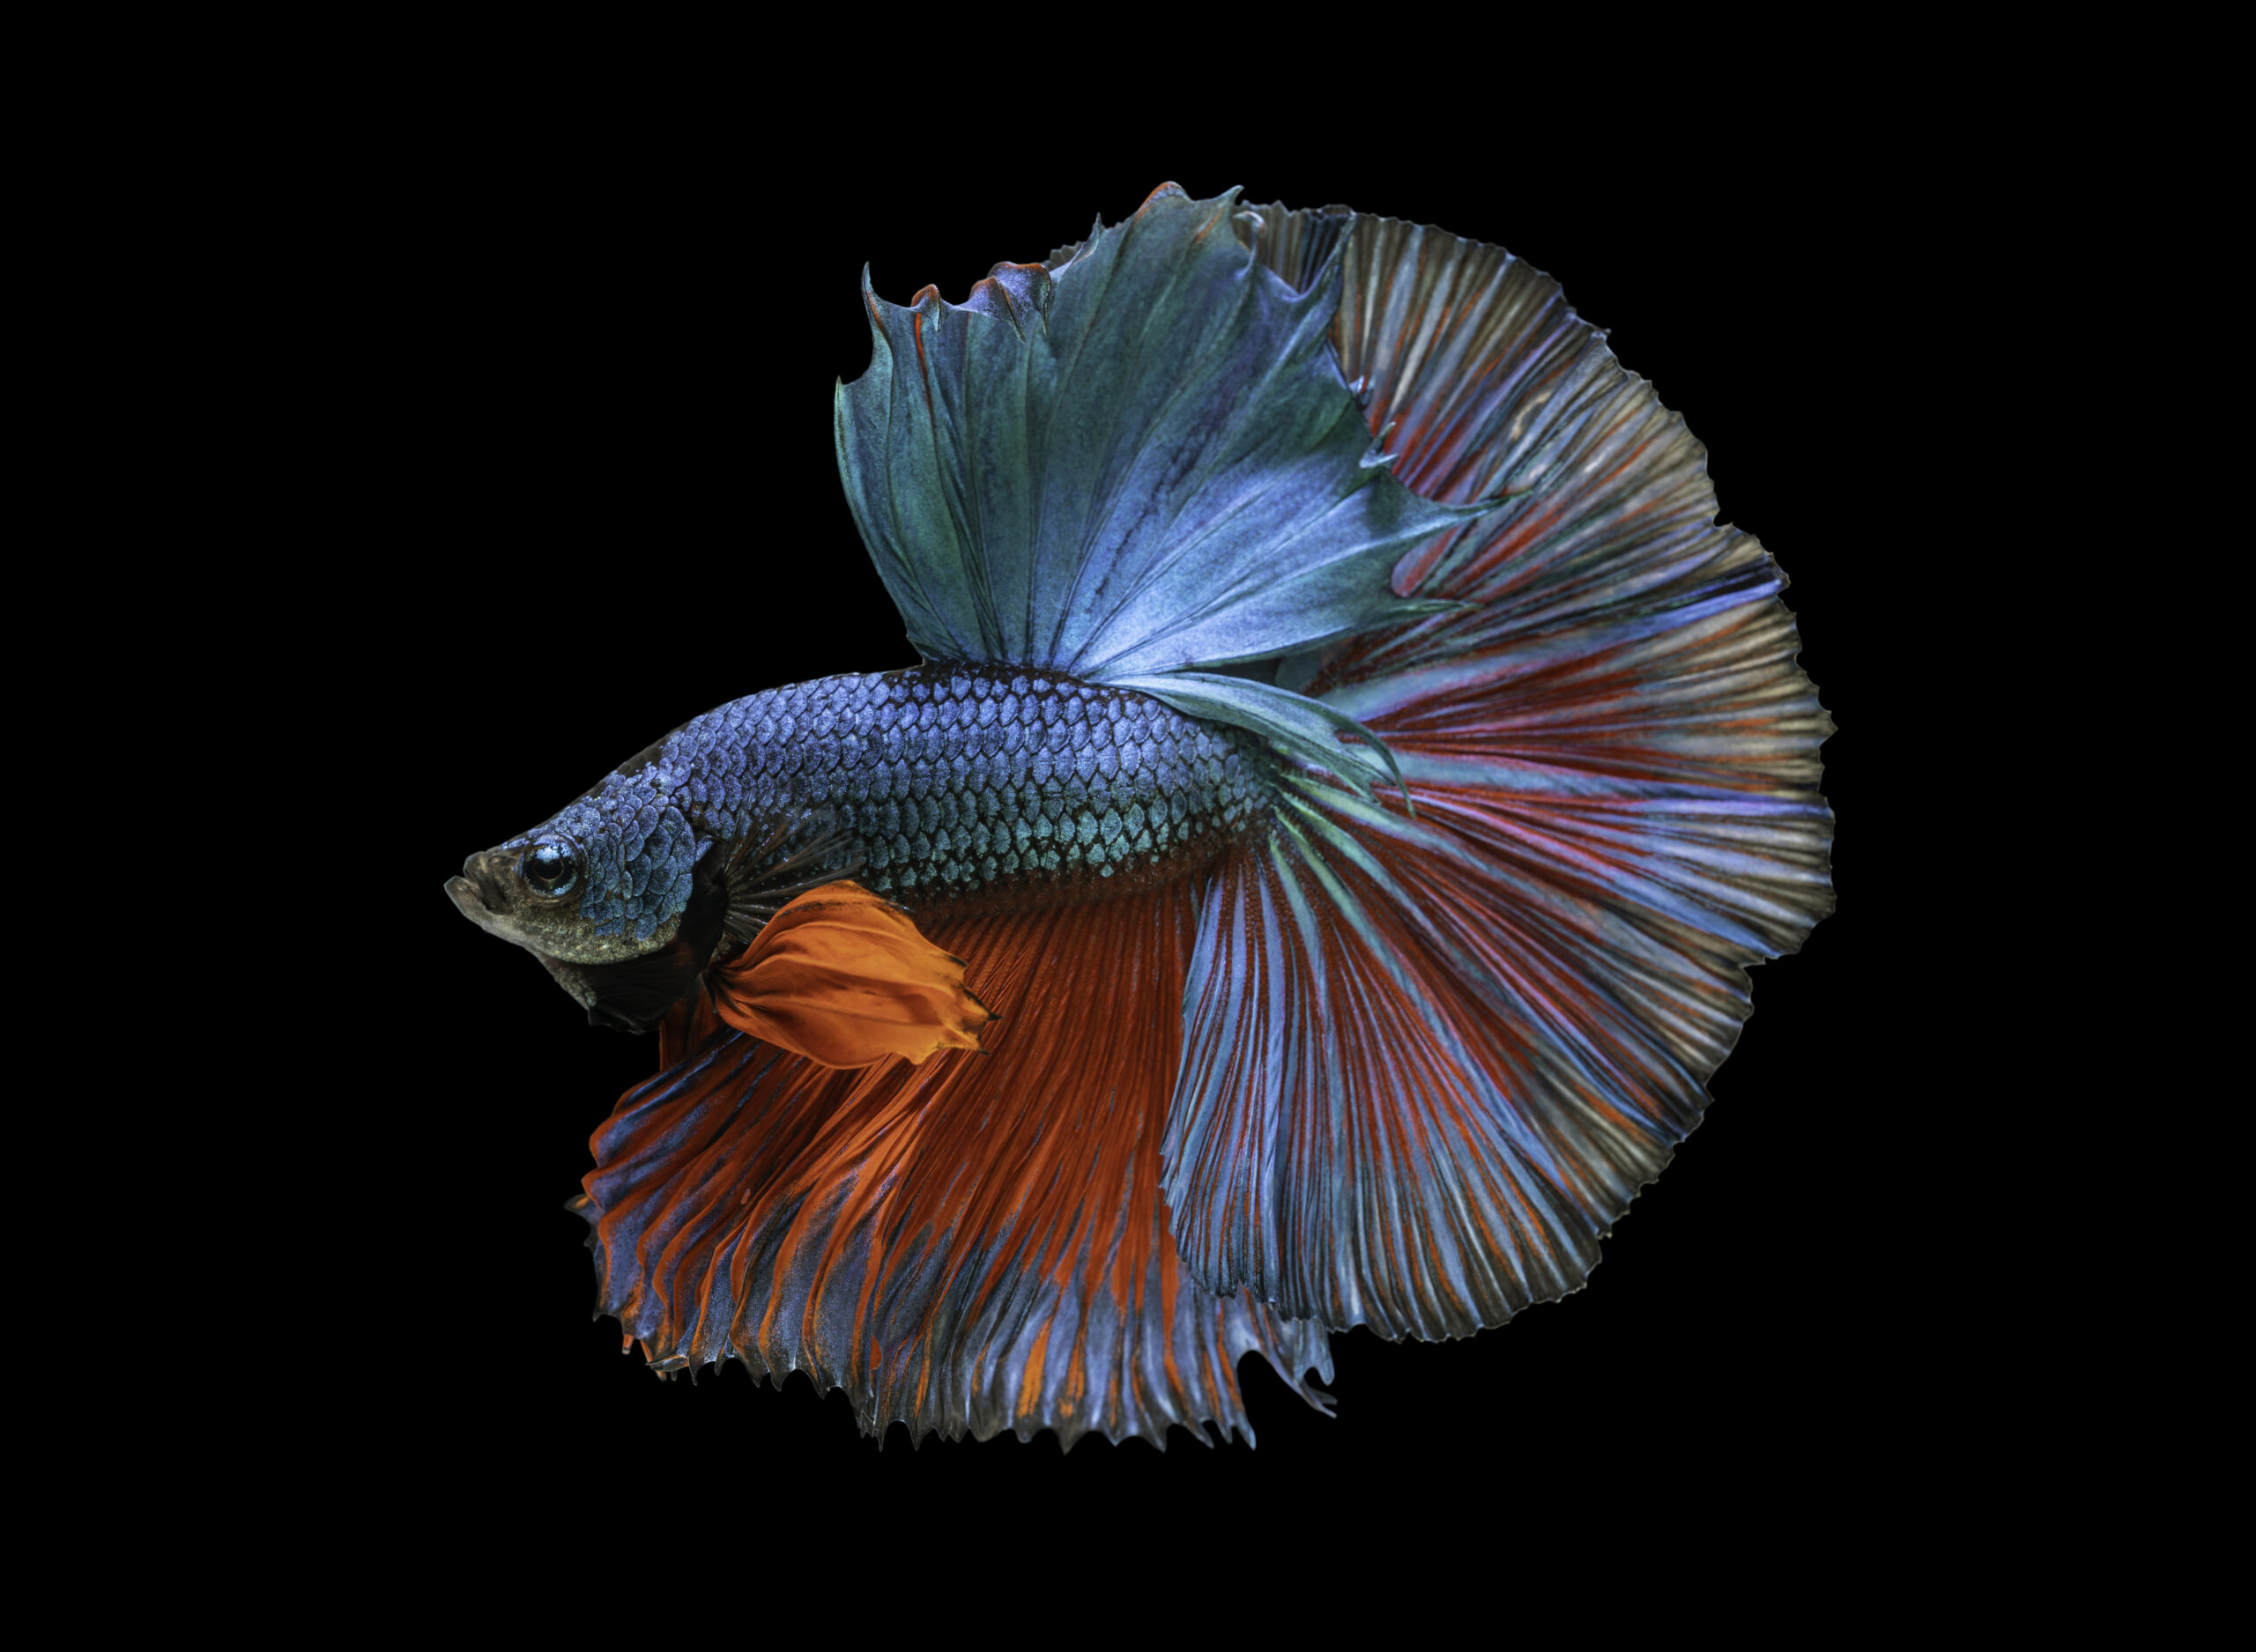
Select Your Fish
Research the freshwater fish species that interest you, considering their size and behavior. If you plan on having a community fish tank with multiple species, investigate how well they coexist with each other. Common starter fish include guppies, tetras, and betta fish. If you’re having trouble making a choice, here’s a link to 10 of the easiest fish to take care of:
Aquarium Location
Opt for a spot away from windows and direct sunlight to prevent algae build-up or temperature swings in the fish tank. Ensure the selected floor area can support the weight of a fully set-up fish tank including the gallons of water that will be INSIDE of the fish tank.
To prevent any leaks, in your fish tank it’s important to perform a leak test. Fill up your aquarium completely. Let it sit for 1-2 days. Check daily during this time to ensure that no water has leaked out. This simple precaution can help you identify any leaks and fix them before they become problematic.
Step 2: Aquarium Equipment
Aquarium Stand
Make sure the stand can support the weight of the aquarium when it’s filled with water and that it fits the dimensions of the fish tank. If not the pressure from the water could compromise the tanks integrity leading to a disaster of finding your tank on the floor instead of securely on top of the stand.
For instance, if your fish tank is 10 inches wide avoid purchasing a stand that’s 8 inches wide. Those extra 2 inches make a difference!
Aquarium Filtration System
Maintaining well oxygenated water in your fish tank is crucial for keeping your fish friends healthy. Selecting the filter should align with your lifestyle and personal preferences. With many types of filters on the market it’s essential to choose one that best suits your needs.
If you’re not happy with how your current filter looks, its size or maintenance requirements keep in mind that there are plenty of options to simplify aquarium care.
Aquarium Lighting
Selecting the lighting for your aquarium goes beyond enhancing its visual appeal—it’s crucial for the well-being and development of all its inhabitants. There are lighting options to explore ranging from energy-saving LEDs that allow you to adjust the light spectrum to suit different settings, to fluorescent tubes that provide a bright and consistent illumination. Some lighting choices can be attached to the fish tank while others rest on top of it.
Heating Your Aquarium
Maintaining the temperature in your aquarium is more than about setting a specific degree—it’s about establishing a stable environment for your aquatic pets. Aquarium heaters are available in designs such as heaters that discreetly sit below the water surface or inline heaters that integrate with your tanks filtration system. Additionally, there are under gravel heaters equipped with a heating cable nestled beneath the substrate of the aquarium. This type of heater gently warms from below ensuring a gentle distribution of heat. It is particularly favored in planted tanks as it effectively supports root growth.
Today many aquarium heaters now include a shut off function that kicks in once the water reaches a specific temperature making it easier to care for your fish tank.
Aquarium Thermometer
Keeping an eye on your aquarium’s temperature is like making sure your aquatic family is always comfortable. That’s where aquarium thermometers come in handy. You can choose from simple stick-on thermometers that attach to the outside of the glass to advanced digital models that provide precise readings by dipping into the water. Some even feature alerts to notify you if the temperature strays from the range.
Aquarium Substrate
In the aquatic world, substrates range from colorful gravel that adds pizzazz to your fishy abode, sand reminiscent of the beach, to nutrient-rich soils that turn your fish tank into a plant paradise. Just imagine your fish doing little tail flips of joy as they explore the nooks and crannies of their stylish, grainy landscape. It’s not just about looking good; it’s about providing a stage where your underwater cast can truly shine!
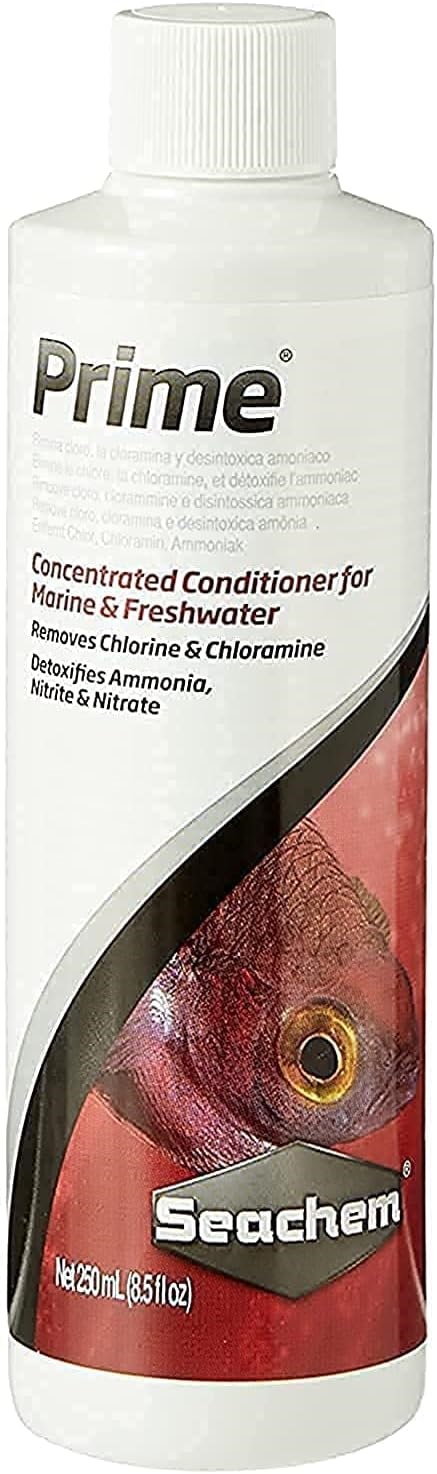
Aquarium Water Conditioner
Water conditioners play a role in maintaining a healthy ecosystem within our fish tanks. One of the most acclaimed and considered the holy grail is Seachem Prime, revered for its ability to detoxify ammonia, nitrite, and nitrate, while also removing chlorine and chloramine from tap water. Seachem Prime is essential for fish-in nitrogen cycling of your fish tank along with API Quick Start.
Similar essential conditioners include API Stress Coat, which not only makes tap water safe for aquatic life but also helps heal damaged skin and fins. Tetra AquaSafe is another popular choice, transforming tap water into safe aquarium water almost instantly, with added benefits like protective colloids for fish. Each of these conditioners play a role in establishing tanks or conducting routine water changes to maintain a healthy aquatic environment.
- REMOVER: Immediately and permanently removes chlorine and chloramine, successfully allowing the bio filter to remove ammonia, nitrite, and nitrate while they are detoxified for 48 hours.
- DETOXIFIER: Effectively detoxifies ammonia, nitrite, and heavy metals found in the tap water at typical concentration levels, providing an ideal environment for your betta, tetra, or other fish.
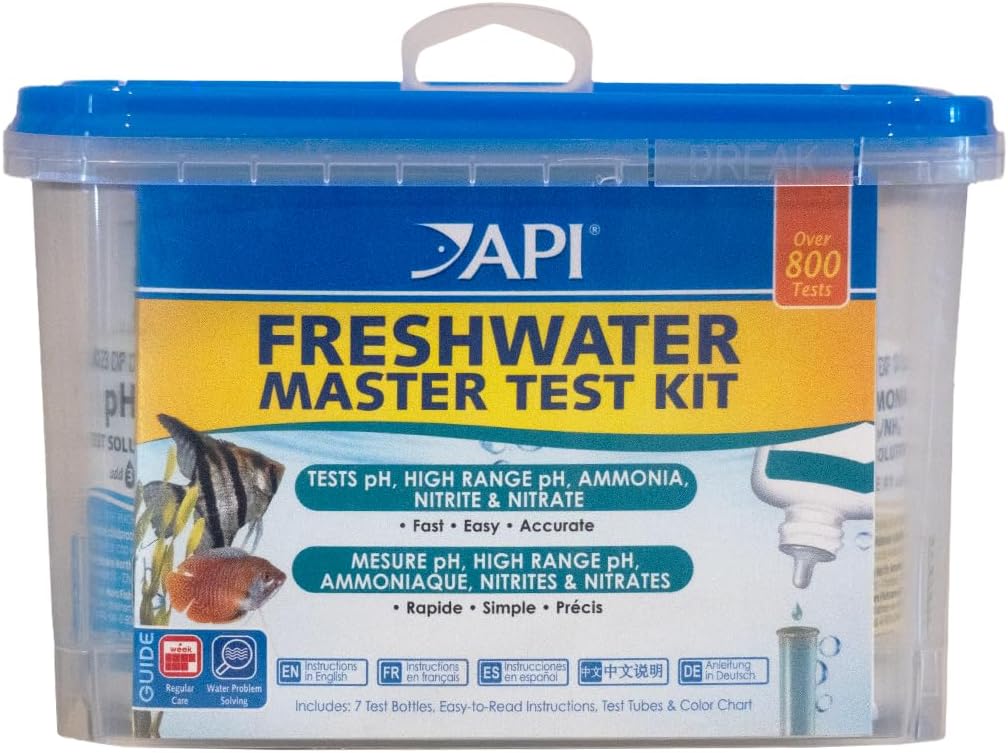
Master Test Kits
Aquarium water test kits are crucial for keeping tabs on the health of your fish tank, ensuring the water is safe for both your fish and plants. These kits become especially crucial when managing the nitrogen cycle in your tank.
While there are specific kits for freshwater aquariums, opting for a pond test kit can be a savvy choice, as these typically include all the essential tests needed for a comprehensive assessment. It’s important to steer clear of test strips as they often yield less accurate results. Instead, investing in liquid-based test kits, like the API Master Test Kit or the Nutrafin Master Test Kit, provides more precise and reliable measurements of pH, ammonia, nitrite, and nitrate levels, helping you maintain optimal water conditions.
- Helps monitor water quality and prevent invisible water problems that can be harmful to fish and cause fish loss
- Accurately monitors 5 most vital water parameters levels in freshwater aquariums: pH, high range pH, ammonia, nitrite, nitrate
- Use for weekly monitoring and when water or fish problems appear
Step 3: Aquarium Setup
Prepare the Substrate
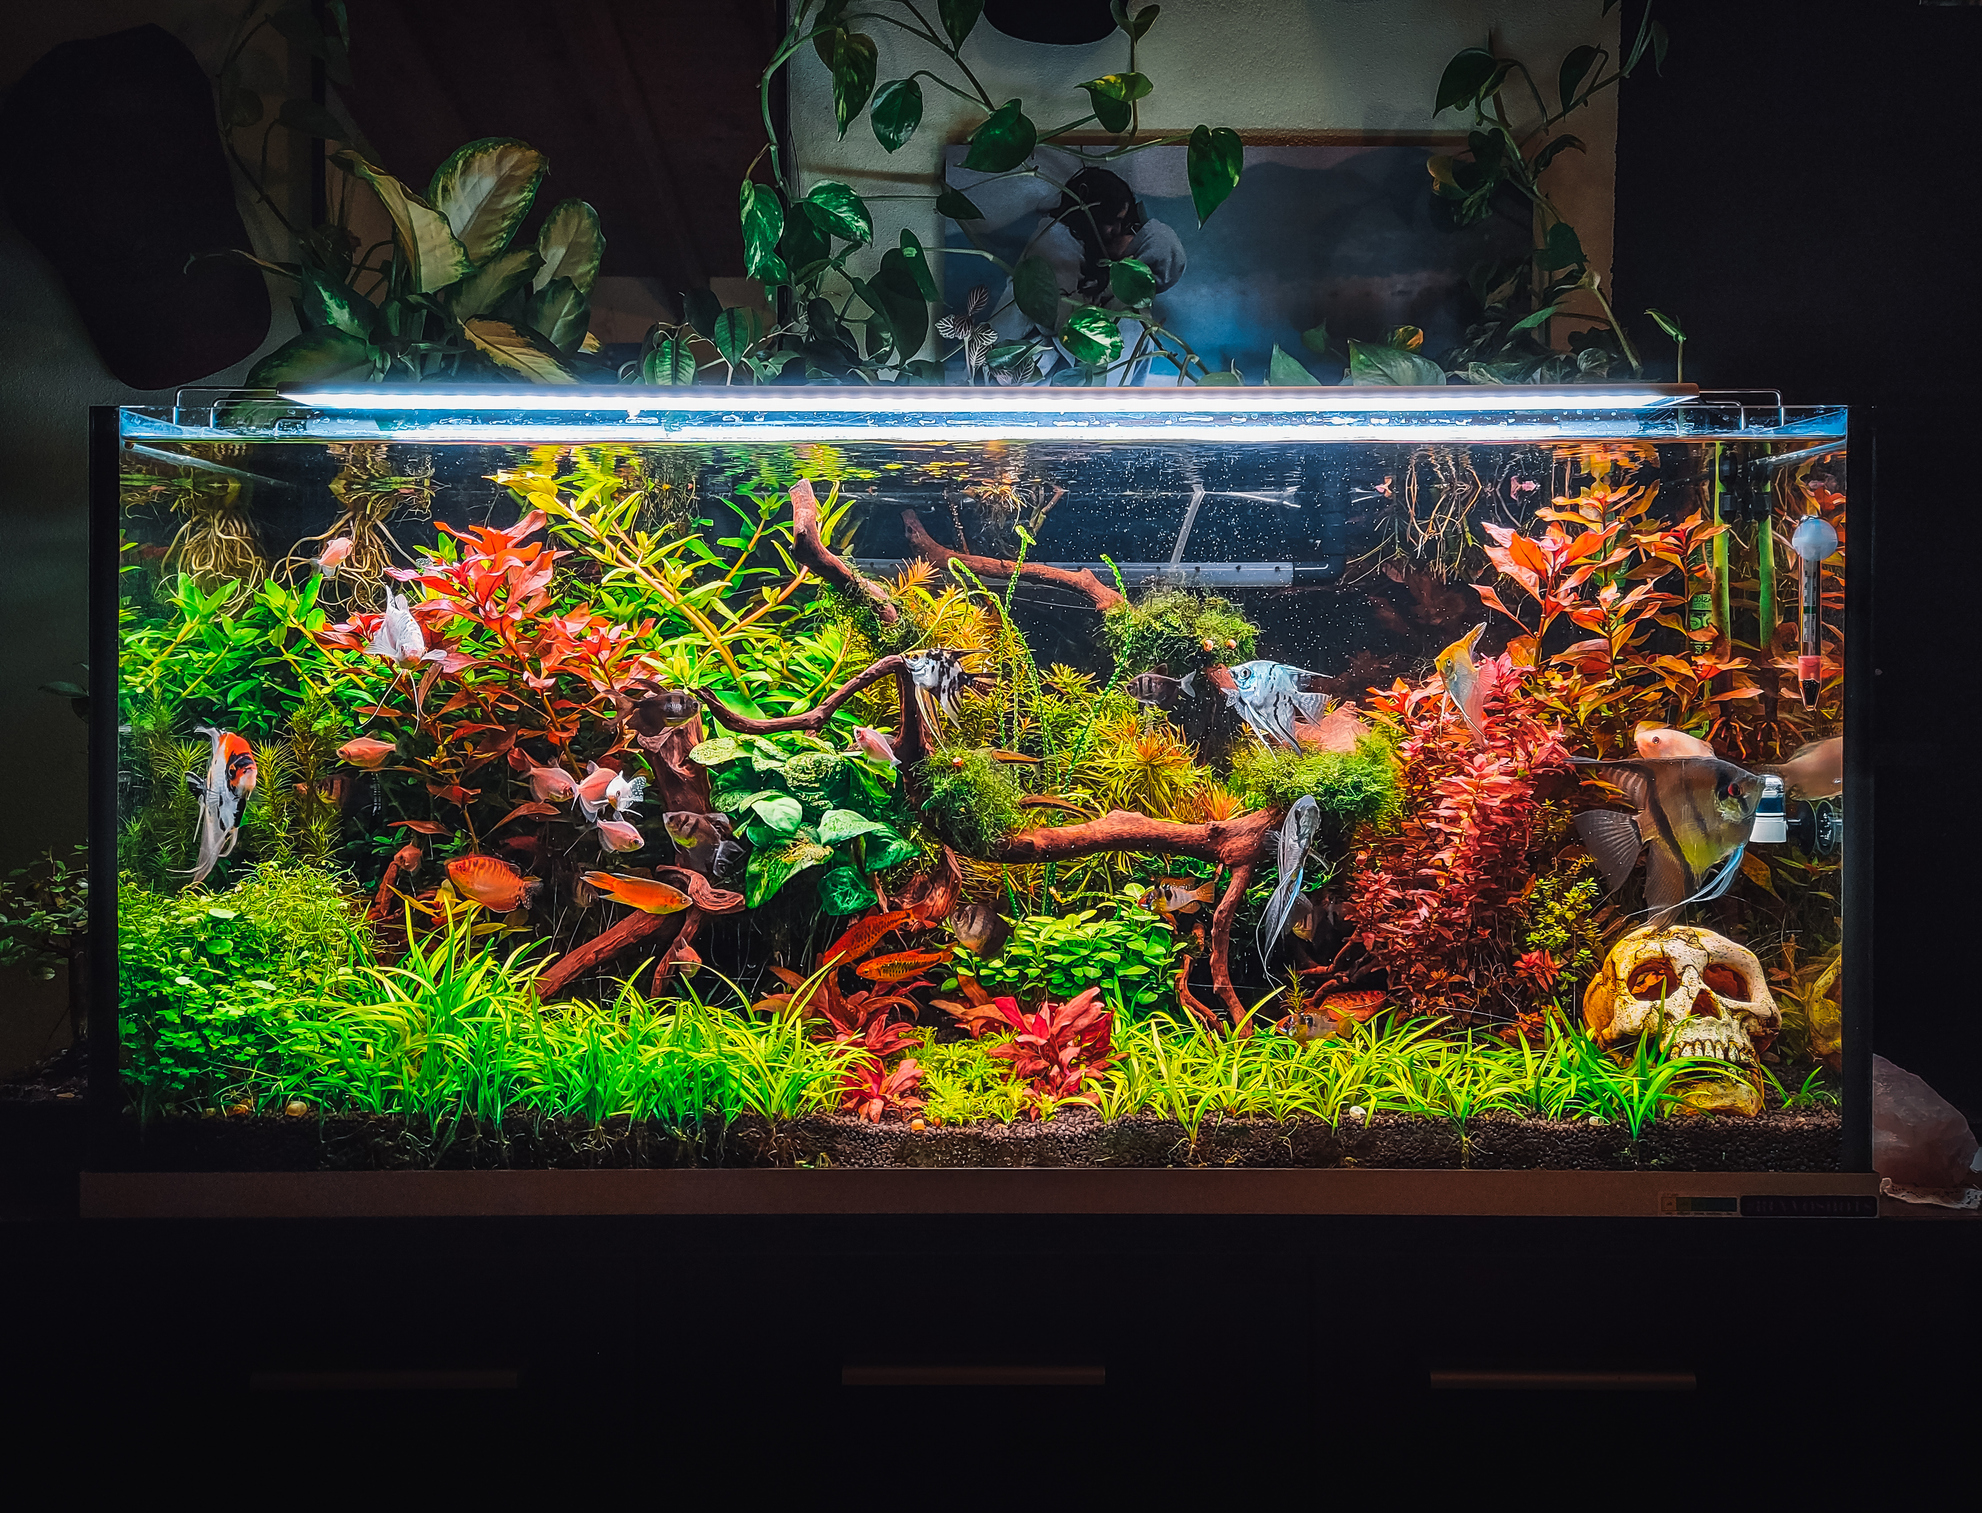
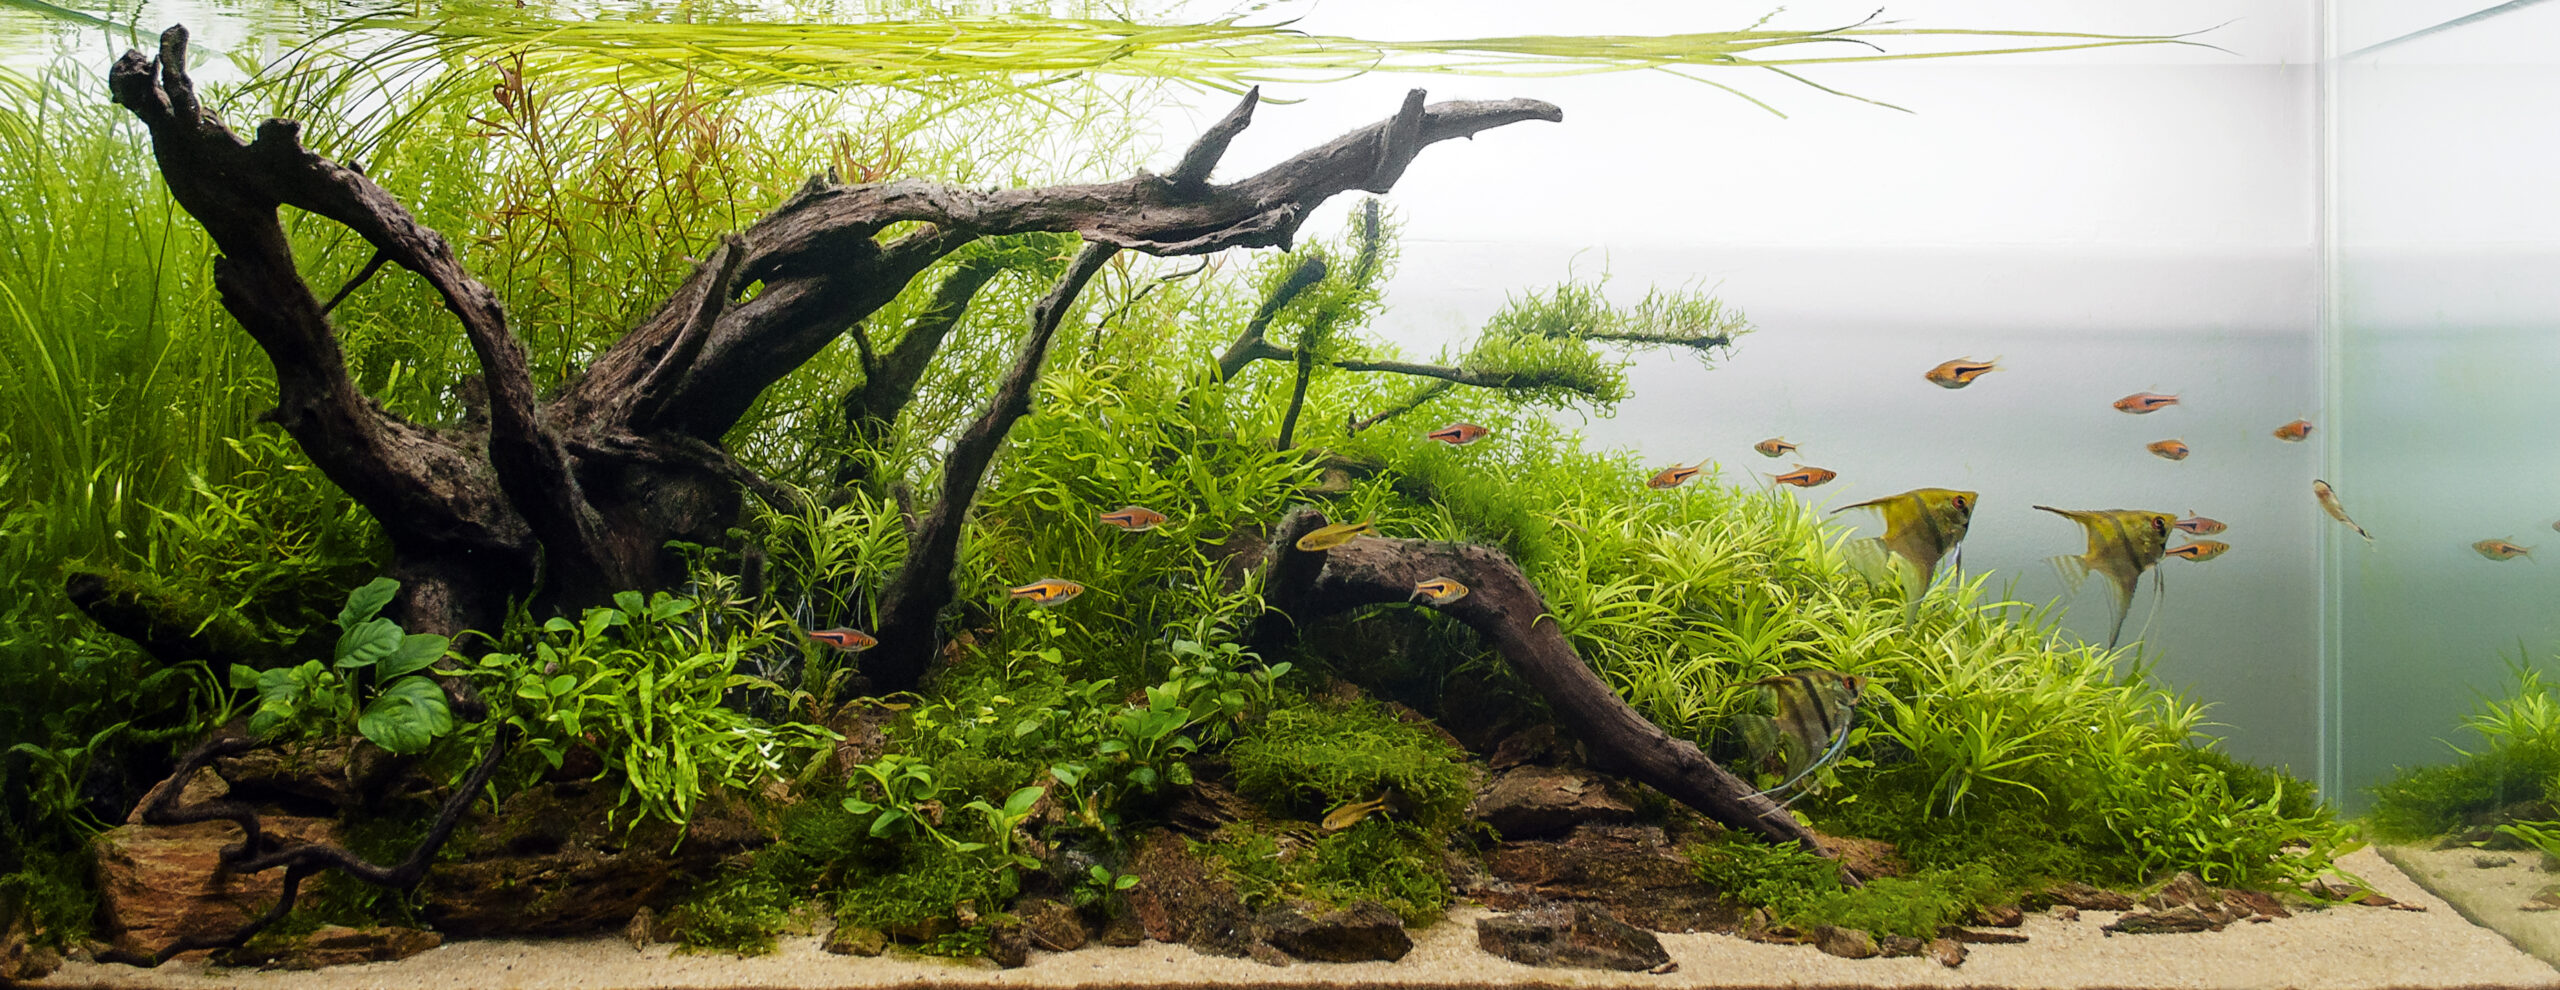
When setting up your aquarium with plants and soil substrate, you’ll create a natural environment that enhances both the visual appeal and health of your tank. Soil provides nourishment to plants and aids in water purification, while sand offers a clean, minimalist look. Alternatively, artificial gravel and silk plants provide a low-maintenance approach, allowing you to decorate with fun, quirky trinkets for a unique touch. Each choice influences the personality of your tank and the amount of maintenance effort you’re prepared to invest. I’m a fan of both styles, so I chose to set up multiple tanks, some with real elements and others with artificial ones.
Install Equipment
Start setting up your aquarium by carefully installing the filter, heater, and any other essential devices like air pumps or lighting systems. It’s key to arrange all this equipment neatly inside the fish tank but hold off on turning anything on just yet. This initial setup phase is your chance to double-check that everything is securely in place and positioned just right, ensuring it’ll work smoothly once you fill the tank with water. Checking everything now will prevent any issues down the road. Believe me!
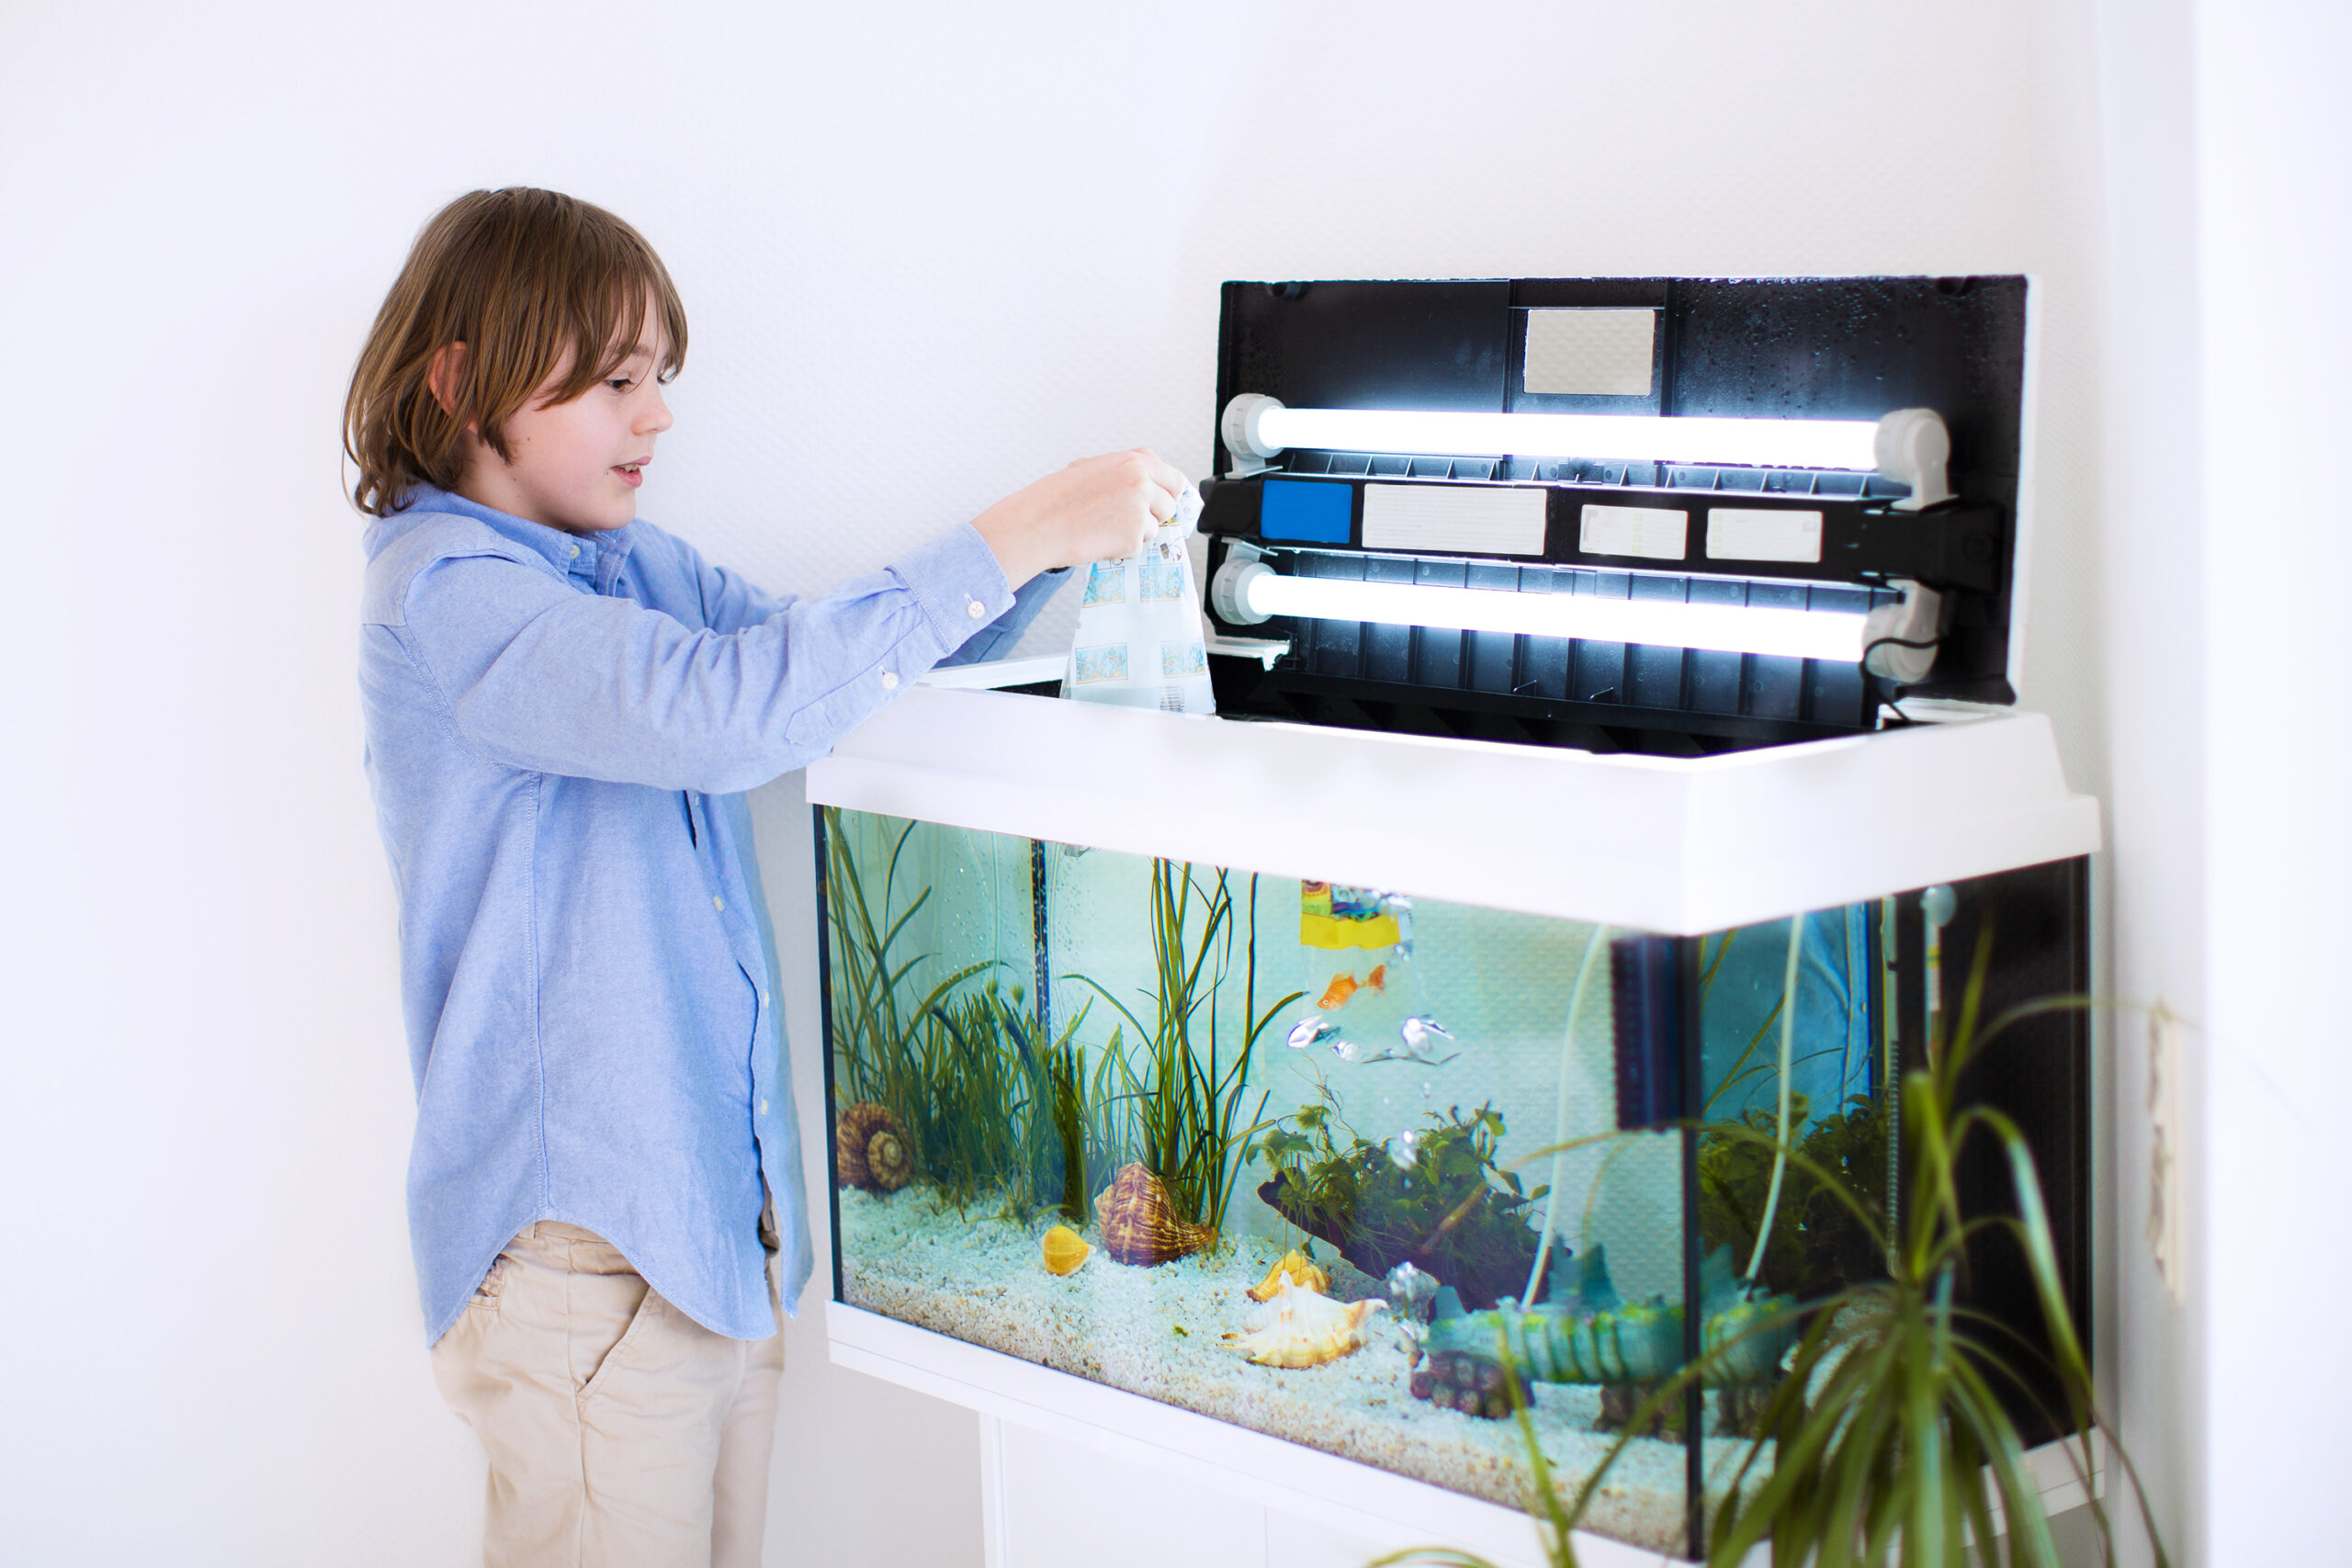
Adding Water
To prevent any leaks, in your fish tank it’s important to perform a leak test. Fill up your aquarium completely. Let it sit for 1-2 days. Check daily during this time to ensure that no water has leaked out. This simple precaution can help you identify any leaks and fix them before they become problematic.
Filling your fish tank without turning your carefully arranged decorations and substrate into a jumbled mess can feel a bit like a delicate dance. One effective method I love involves using a small plastic cup with cutouts at the bottom, which you can clip to the inside of the tank and then pour water into. Alternatively, you can place a clean plate or a plastic bag directly on the substrate and gently pour the water over it. This technique helps distribute the water evenly as it fills the tank. Another strategy is to target less decorated areas when pouring water, minimizing disturbance. This gentle approach ensures that everything in your tank stays perfectly in place as you add water.
Set up Lighting and Activate all Equipment
After filling your fish tank with water it’s time to make it vibrant by turning on the lights and other devices. Begin by installing the lighting above the tank ensuring it is in place, then one at a time switch on your filter, heater and any other accessories. Check to confirm that everything is functioning smoothly.
Step 4: Understanding the Nitrogen Cycle
The nitrogen cycle is a process that maintains the health of your aquarium by transforming waste into safer substances. It begins with fish waste and leftover food breaking down into ammonia, which can be harmful to fish. Beneficial bacteria then convert the ammonia into nitrites, which are also harmful. Another type of bacteria finally turns nitrites into nitrates, which are much less dangerous. The whole process can take about 2 to 6 weeks depending on which type of cycle you select, so patience is key!
You’ll need your water master test kit to complete this process. Keep in mind that test strips often produce unreliable results. Regular water changes and live plants will help keep nitrate levels in check. During this initial cycling phase, keep a close eye on your water quality to ensure your tank becomes stable.
Fish-Less Cycle (Recommended)
Introduce an Ammonia Source:
- Pure Ammonia: Add 2-4 drops of pure ammonia per 10 gallons daily until ammonia levels reach 3-5 ppm (parts per million).
- Fish Food: Sprinkle a small amount of fish food daily to decompose and produce ammonia.
- Shrimp Method: Place a raw shrimp in a mesh bag and let it decompose in the tank.
Monitor Ammonia and Nitrite Levels:
- Use a water test kit to check levels of ammonia and nitrite every 2-3 days.
- Initially there will be an increase in ammonia levels as bacteria converts ammonia into nitrites.
Keep an Eye for Nitrites and Nitrates:
- When you notice a decrease in levels along with the presence of nitrites it indicates that the initial set of bacteria (ammonia eating bacteria) has been established.
- Keep adding your ammonia source daily to maintain 3-5 ppm.
- As nitrites increase another group of bacteria will start converting them into nitrates.
- Regularly test for nitrates.
- Once nitrates are present, and ammonia and nitrites drop to zero, your tank is nearly ready.
Complete the Cycle and Perform Partial Water Change
- Keep adding ammonia until both levels consistently reach zero within a day which might take 4 to 6 weeks.
- Before adding fish perform a 50% water change to lower the levels of substances.
- Each time you add new fish, monitor ammonia and nitrite levels closely for a few days to ensure the cycle remains stable.
- Clean your filter media in tank water (never tap water) to preserve beneficial bacteria.
Fish-in Cycle (For Experienced Fish Keepers)
Add Water and Fish
- Dechlorinate water and add beneficial bacteria like API Quick Start to boost the growth of nitrifying bacteria.
- Add a few hardy fish species that can tolerate higher levels of ammonia and nitrite
Initial Ammonia Spike
- Monitor ammonia levels for the first few days, feed your fish sparingly and monitor ammonia levels daily using a test kit. Ammonia will start to build up from fish waste and uneaten food.
- Perform daily water changes according to the image I have provided every few days to keep ammonia levels below 0.5 ppm. This helps protect your fish from toxic spikes and DEATH!
Nitrite Development
- After about 1-2 weeks, beneficial bacteria (Nitrosomonas) will start converting ammonia into nitrite, which is also toxic to fish. Continue to test your water daily for this and maintain nitrite levels below 1 ppm by performing water changes.
Nitrate Development
- 2 to 4 weeks later a different type of bacteria known as Nitrospira will convert nitrite into nitrate, which is safer for fish.
- Test for nitrate levels weekly. Aim to keep nitrate below 20-40 ppm through regular water changes.
Maintaining the Cycle
- Continue with regular water changes (20-30% weekly) to manage the nitrate levels in effectively.
- Conduct tests for ammonia, nitrite and nitrate to confirm that the cycle is stable.
- Avoid overfeeding to prevent excess waste and uneaten food from disrupting the cycle.
Completing the Cycle
- Once your tank has completed cycling (ammonia and nitrite are at 0 ppm and nitrate is under control) you can begin adding more fish.
- When introducing fish closely monitor ammonia and nitrite levels for a few days to ensure the cycle remains stable.
- Clean your filter media using tank water (not tap water) to preserve beneficial bacteria.
Plant Cycle (Suitable for tanks with or without fish)
Plants play a significant role in this process by absorbing nitrogen compounds. Here’s how to establish this cycle in a planted tank. This mirrors the same steps as a fish-less and fish-in cycle but you add plants!
Setting Up Your Planted Aquarium
- Dechlorinate water and add beneficial bacteria like API Quick Start to help promote the growth of beneficial nitrifying bacteria.
- Begin by adding plants such as Anubias, Java Fern or Amazon Sword as they are great for absorbing nutrients in the water.
Initial Ammonia Spike
- Keep an eye on ammonia levels by feeding your fish moderately and testing the water daily using a liquid test kit. Ammonia will start to build up from fish waste and uneaten food.
- Perform daily water changes according to the image I have provided every few days to keep ammonia levels below 0.5 ppm.
Nitrite Development
- After 1-2 weeks beneficial bacteria (Nitrosomonas) will start converting ammonia into nitrite, which can be harmful to fish. Monitor your water levels regularly. Maintain nitrite below 1 ppm by performing necessary water changes.
- Plants play a role in absorbing nitrite and helping reduce its presence in the tank.
Nitrate Development
- In another 2-4 weeks, a different type of bacteria (Nitrospira) will convert nitrite into nitrate which is less harmful to fish.
- Check your levels weekly. Aim to keep nitrate below 20-40 ppm by changing the water regularly.
- Healthy plant growth can aid in absorbing nitrates
Maintaining the Cycle
- To maintain the cycle, regularly carry out water changes of around 20-30% to regulate levels.
- It’s crucial to monitor the levels of ammonia, nitrite and nitrate to ensure the cycles stability.
- Supplementing with fertilizers or root tabs when needed can provide plants with nutrients without overwhelming the system with nitrogen.
Complete the Cycle
- Once your tank has completed its cycle (ammonia and nitrite levels at 0 ppm and nitrate well maintained) you can gradually introduce fish.
- Keep an eye on ammonia and nitrite levels for a few days each time you add fish to maintain a cycle.
- When cleaning your filter media always use tank water instead of tap water to preserve bacteria. Regularly trimming and caring for plants is essential to prevent decaying matter from disrupting the cycle.
Pre-Established Media Cycle (Fastest Process)
For initiating a cycling process consider using established media from existing aquariums through a method called seeding. This method helps kickstart your tanks nitrogen cycle. You can obtain used filter media from your local fish store or a friend who already has a tank set up. Just add some of this filter media into your tanks filter. Be cautious not to use media from tanks showing any signs of infection. Then follow any of the nitrogen cycle methods mentioned above after adding the media.
Step 5: Aquarium Maintenance
Regular Feeding:
Feed the fish once or twice a day, ensuring they consume all the food within a few minutes.
Water Changes:
Conduct 10-20% water changes weekly to extract nitrates and refresh nutrients. Some people go without water changes at all! You can do this, but you must watch your water parameters closely.
Cleaning:
Periodically cleanse the tank, ornaments, and filter, being careful not to disrupt all the beneficial bacteria at once.
Step 6: Enjoy Your Aquarium!
Take a few minutes or hours each day to check out your aquarium. Enjoy its beauty while keeping an eye on your fish’s health and making sure everything is working properly.
Stick to these steps, and you’ll have a thriving freshwater aquarium that entertains and delights for years to come.
- How to Apply an Aquarium Background: A Step-by-Step Guide – October 29, 2024
- How to Clean Aquarium Sand with Pillow Case for a Crystal Clear Tank – October 29, 2024
- How to Treat White Spot Disease (Ich) in Your Aquarium: Save Your Fish Tank – October 7, 2024