An aquarium background can literally transform your fish tank, adding depth, color, and a sense of security for your fish. In this guide, I’ll walk you through how to apply a poster or vinyl aquarium background quickly and effectively. Whether you’re looking for a simple blue backdrop or a vibrant underwater scene, this guide will help you create a polished look.
Table of Contents
Why Add an Aquarium Background?
Aquarium backgrounds aren’t just for aesthetics. They enhance the colors of your fish and create a calming environment that helps your fish feel more secure. A well-chosen background can make a big difference in your tank’s overall appearance.
Types of Aquarium Backgrounds
There are many background options to consider, including:
- Posters: Affordable and easy to apply, these are common among beginners.
- 3D Backgrounds: These add depth but are more expensive and harder to install.
- Vinyl Wraps: These are more durable and give a seamless look to your tank.
For this guide, we’ll focus on posters and vinyl wraps since they’re the most budget-friendly and accessible options.
Tools You’ll Need
- Aquarium background (poster or vinyl)
- Spray bottle with water and a few drops of dish soap (or the ClearView adhesive)
- (You can also use cooking oil)
- Squeegee or a credit card
- Scissors or a sharp blade
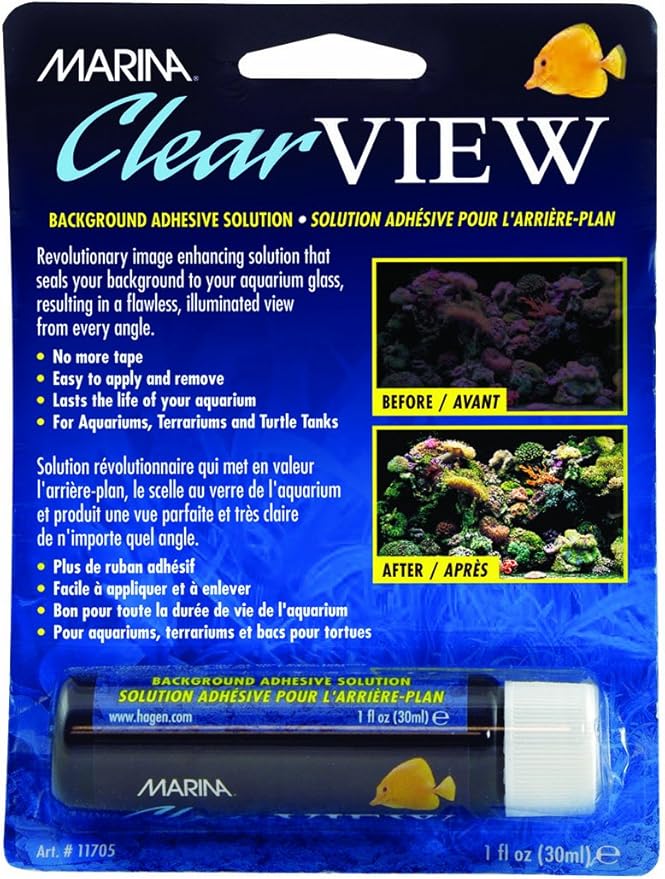
Marina Clearview is a revolutionary image enhancing solution that seals backgrounds to aquarium glass, resulting in a flawless, illuminated view from every angle. Marina Clearview is a great way to help ensure that your backgrounds stay securely on your aquariums glass.
Step 1: Prepare the Aquarium
Before applying the background, clean the back of your aquarium thoroughly. Trust me, you don’t want any dirt or grime getting trapped between the glass and the background. The cleaner the surface, the better the adhesion.
Step 2: Position the Background
Position the poster or vinyl behind the tank to ensure it’s the right size and orientation. This step helps you avoid mistakes once you start applying the background.
Step 3: Apply Adhesive or Soap Mixture
If you’re using a vinyl wrap, spray the back of the tank with a mixture of water and a few drops of dish soap or use an adhesive like the “Illuminator.” This allows the background to slide into position easily and helps prevent air bubbles.
Step 4: Align and Secure the Background
Start aligning the top edge of the background with the tank. If you’re using a vinyl wrap, slowly peel off the backing as you press the background onto the glass. Use a squeegee or credit card to gently press out air bubbles, working from the center toward the edges. Take your time with this step—a smooth application is key to a professional look.
Step 5: Trim Excess Material
Once the background is in place, trim any excess material with scissors or a sharp blade. Be cautious not to cut too close to the tank, as this could damage the glass or the background itself.
Final Steps: Add Fish and Decor
With your background applied, it’s time to add your fish and decorations back into the tank. You’ll immediately notice how the background enhances the colors of your fish and plants, creating a more cohesive look.
Why You’ll Love Your New Background
A well-applied background transforms your aquarium into a stunning display. It’s like a backdrop for a photo shoot—your fish will truly pop against it! The right background not only adds beauty but also creates a sense of security for your fish, making it a win-win addition to your tank.
Thanks for reading and I really hope you learned something 🙂
- How to Apply an Aquarium Background: A Step-by-Step Guide – October 29, 2024
- How to Clean Aquarium Sand with Pillow Case for a Crystal Clear Tank – October 29, 2024
- How to Treat White Spot Disease (Ich) in Your Aquarium: Save Your Fish Tank – October 7, 2024